Contents
Learn Python, eventually
To get the most out of GEMS, you need to learn Python. But, you don’t need that for the information on this page.
Using GEMS outside the install directory
To learn how to use GEMS from outside the install directory, we will make use of one of the testbin scripts. These scrips are used by the developers for testing and debugging, but are made available in the repo so that the code in them may be used as examples.
- Copy one of the gems python scripts from the install/testbin directory to some other directory. For example:
1$ cp /path/to/GEMS/testbin/unrecognizedresidues.py /path/to/newspace - At the top, change these lines:
12import gmmlimport sys
…so that they say this:
123import syssys.path.append('/path/to/GEMS')import gmml - You can now use that function anywhere else.
You will need to add these lines at the top of any gems script you make.
Build a very simple GEMS
Now, we’ll build a very simple GEMS script. It won’t do very much, but it should give you a feel for how things work. Here is the code:
For Python 2.7:
GEMS is moving soon to Python 3, so please consider using it instead.
|
1 2 3 4 5 6 7 8 9 10 11 12 13 14 15 16 17 18 19 20 21 22 23 24 25 |
import sys sys.path.append('/path/to/your/GEMS') import gmml # Optional: add usage information for folks who need it if sys.argv[1] in ('--help', '-h', 'help'): print """ Usage: python2.7 simple.py input.pdb Where "input.pdb" is a PDB file. """ sys.exit() # Optional: assign the filename in argv[1] to the variable "pdb" pdb = sys.argv[1] # Load the file with name pdb into an instance of a pdb file structure pdbfile = gmml.PdbFile(pdb) # Set an object to hold header information header = pdbfile.GetHeader() # Print out the deposition date for the file print "The deposition date is:", header.GetDepositionDate() |
For Python 3:
GEMS is moving soon to Python 3, so this is a preview. There are very few differences of interest to us.
If you use Ubuntu 14.04, it might be useful to set PYTHON_HOME to /usr/include/python3.4m to compile and use Python 3.
|
1 2 3 4 5 6 7 8 9 10 11 12 13 14 15 16 17 18 19 20 21 22 23 24 25 |
import sys sys.path.append('/path/to/your/GEMS') import gmml # Optional: add usage information for folks who need it if sys.argv[1] in ('--help', '-h', 'help'): print(""" Usage: python3 simple.py input.pdb Where "input.pdb" is a PDB file. """) sys.exit() # Optional: assign the filename in argv[1] to the variable "pdb" pdb = sys.argv[1] # Load the file with name pdb into an instance of a pdb file structure pdbfile = gmml.PdbFile(pdb) # Set an object to hold header information header = pdbfile.GetHeader() # Print out the deposition date for the file print("The deposition date is:", header.GetDepositionDate()) |
Regardless which one you use:
As promised in the last section, the first lines of code (lines 1-3) instruct the Python interpreter where to find GMML. The next section is optional, but can be very handy, especially when you come back to your script several months, or years, later. It just prints a help message and provides a little internal documentation at the same time. Here’s what it would look like to ask the script for help if you named your script “simple.py”:
|
1 2 3 4 5 6 |
$ python2.7 simple.py --help Usage: python2.7 simple.py input.pdb Where "input.pdb" is a PDB file. |
The statement at line 16 is optional: it only serves to make the statement at line 19 more readable. That is, line 19 could say:
|
1 |
pdbfile = gmml.PdbFile(sys.argv[1]) |
The purpose of line 19 is to read the pdb file whose name is stored in the variable “pdb” into an objecti called “pdbfile”. Note this construction:
|
1 |
pdbfile = gmml.PdbFile(pdb) |
This says to look in the gmml information (imported at the top of the file) for a function called PdbFile and send the name of your pdb file to that function for processing. The result of the processing is stored in the object pdbfile.
i An object is an organized way of storing data and the set of functions that can act upon that data.
The next instruction, on line 22, similarly says to find a function called GetHeader associated with the object pdbfile and to assign the results to another object called “header.”
Line 25 uses syntax similar to lines 19 and 22, but instead of assigning the result to a new object, it sends the information to the print command so that it can be displayed. That is, it says to use the function GetDepositionDate associated with the object stored in header and to print out the data stored there just after printing “The deposition date is:”.
If you run this script on the PDB file 1UBQ.pdb (obtainable from http://rcsb.org), this is what should happen:
|
1 2 3 4 |
$ python2.7 simple.py 1UBQ.pdb Opening PDB file ... End of file The deposition date is: 02-JAN-87 |
Learning how to do more
To learn how to do more with your GEMS script, you need to learn to read the GMML documentation. A thorough discussion of that is far beyond this simple introduction. For now, we will go through one procedure you could have used to find the information necessary to write the GMML portions of the script above.
Accessing the GMML code documentation
The detailed documentation of the GMML code is automatically generated by the program doxygen and is available online at http://glycam.org/gmml_docs/. The page looks something like this:
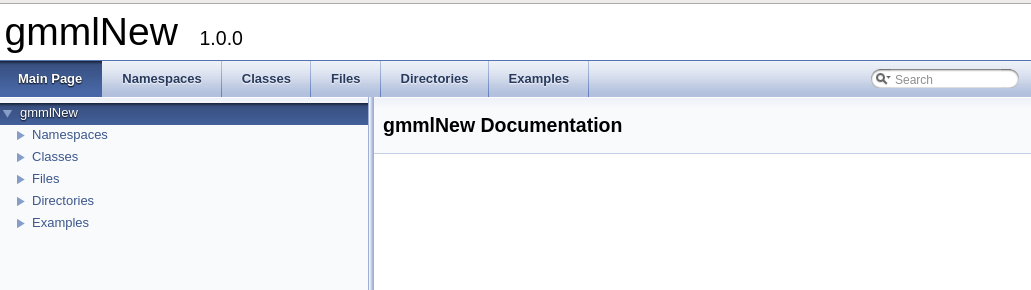
Please note: the code is constantly being updated, so what you see might vary slightly from these images.
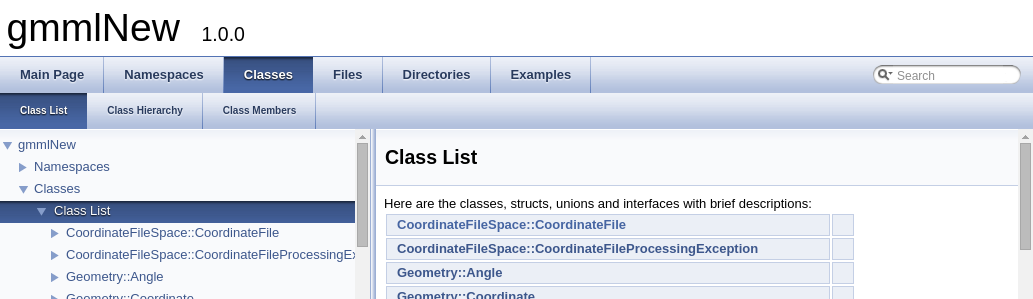
Finding the available classes
Click on the Classes tab. Both panes, left and right, will give you a listing of the available classes.
Making sense of basic class information
Scroll down in the left-hand pane until you find PdbFileSpace::PdbFile and expand the text by clicking on it. You should see something like the following. See the line in the right-hand pane that says “PdbHeaderCard * GetHeader()”.
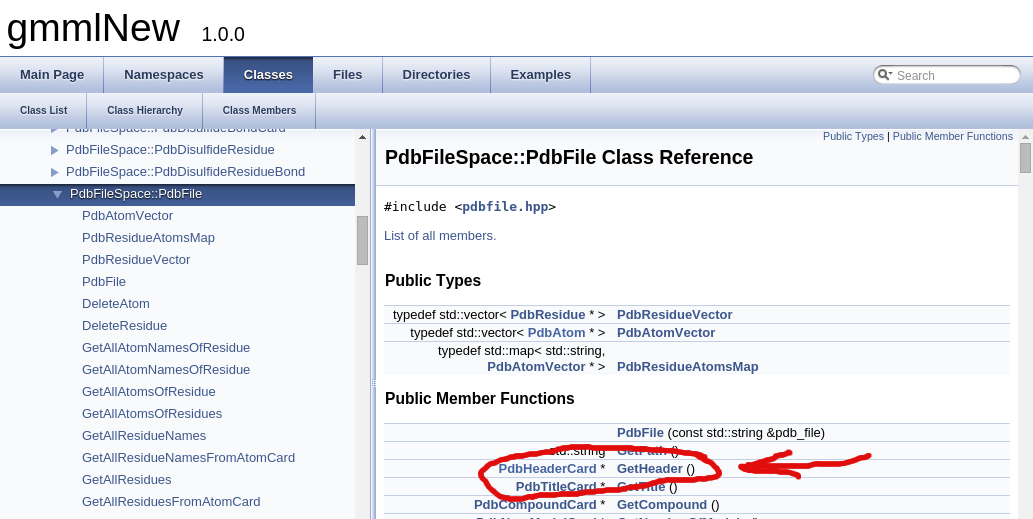
This tells us that our pdbfile object that was created in line 19 has a function called GetHeader that returns an object of type PdbHeaderCard. This is how we knew that we could write line 22.
Persons coming from certain other programming languages will notice that we didn’t have to specify a type for header. This is because python can usually figure out from context what sort of type to assign to any given variable. In fact, python has far greater abilities in this regard, but they are far beyond the scope of this discussion. Just know that you will not need to specify type very often in GEMS.
Now click on “PdbHeaderCard” in that line, and you should end up at a page similar to the one below. See the line that says “std::string GetDepositionDate ()”.
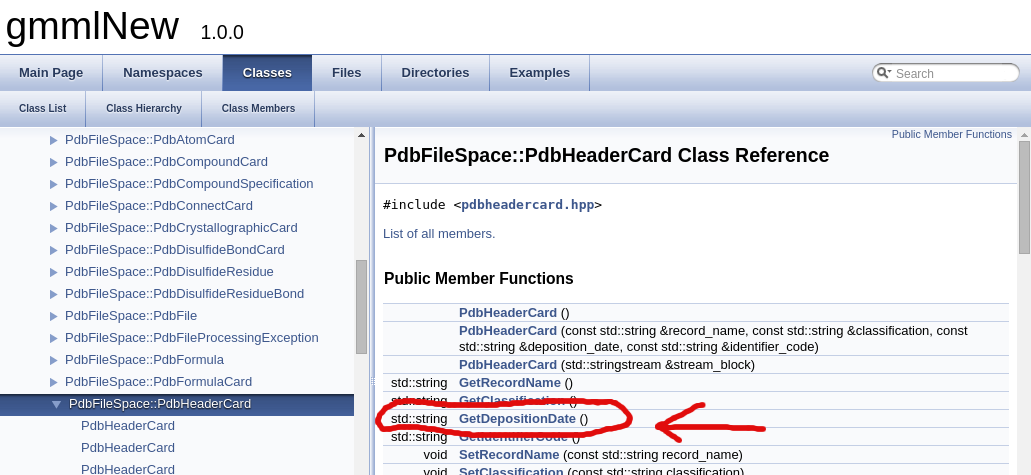
This line tells us that an object of type PdbHeaderCard, i.e., our object called header, has a function called GetDepositionDate. It also tells us that this function returns an object of type string from the standard library (std). Standard library strings can be printed out easily, so we know it will be simple to write a line such as 25.